How to Remove Windows 8 Password on Lenovo IdeaPad with UEFI BIOS?
- First of all, use another computer to download the PCUnlocker program, which comes as a self-extracting .zip file. After the file has downloaded, extract the pcunlocker.iso file from it. Burn the ISO image to a blank CD using your preferred CD burning program such as ISO2Disc.
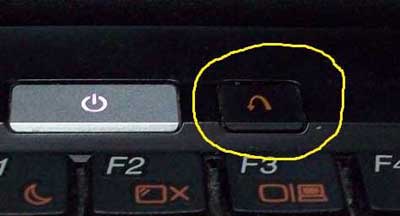
- Put your newly created CD in the CD drive of your Lenovo IdeaPad laptop. When the laptop is powered off, press the Novo button. This will start up the laptop and provide you with the Novo button menu.

-
Choose BIOS Setup from the Novo button menu, and press Enter.

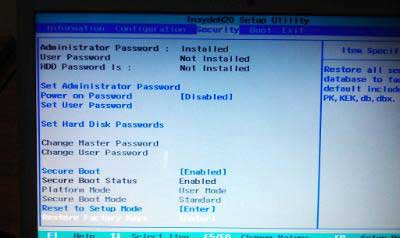
- In the BIOS Setup, select the Security tab and change Secure Boot value to Disabled.

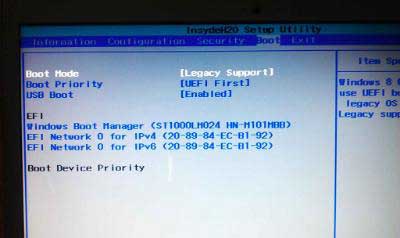
- Next, on the Boot tab, change the Boot Mode from UEFI to Legacy Support.

- You can now save and exit the BIOS, but the laptop will go straight to booting again, so you'll need to shutdown or power it off in order to use the Novo button again. This time choose Boot Menu from the Novo button menu, and then select to boot from the CD drive.
- After booting the laptop from the CD, it loads the Windows PE
operating system and finally opens up the PCUnlocker program. The
program automatically detects the operating system installed on your
hard drive, and then displays a list of Windows 8 local user accounts.

- Choose one of your administrator accounts and click on Reset Password button. The program will unlock your selected account and remove the password immediately. Eject the CD and restart your computer. Enter into BIOS Setup and change the BIOS Mode back to UEFI.
- Now you've successfully removed Windows 8 Password on Lenovo IdeaPad with UEFI BIOS, and you can log back into Windows 8 without a password! Enjoy it!
No comments:
Post a Comment